BroadcomスタックでWiiリモコンとPCの接続
Bluetoothスタックは世に数種類あり、それぞれ少しづつ挙動が違う。タスクバーの青いBluetoothをダブルクリックしたときに、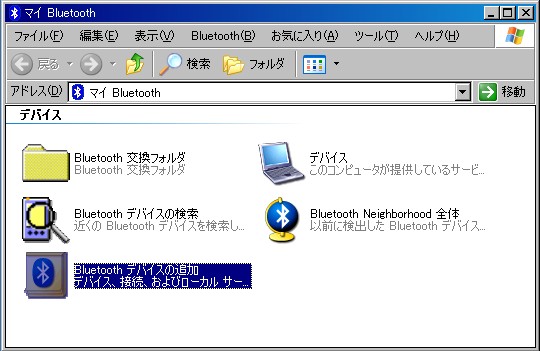
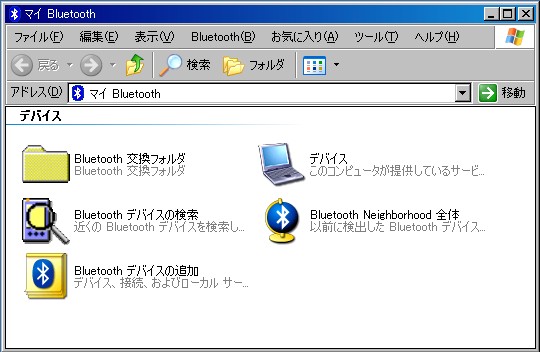
↑こんな感じの画面が表示されるBroadcom製スタックにおける、WiiリモコンとPCの接続法。
まずは上の図のように「Bluetoothデバイスの検知」をクリック。すると…
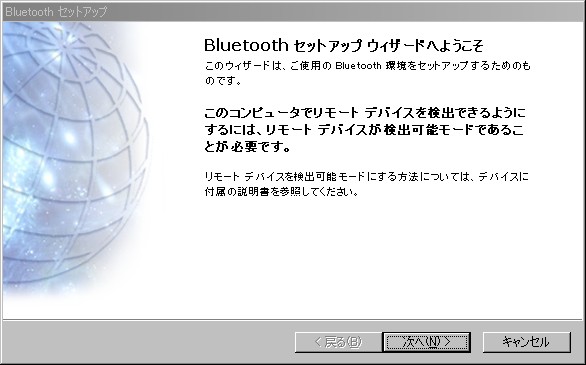
こんな感じの画面が表示されるので、次へをクリック。
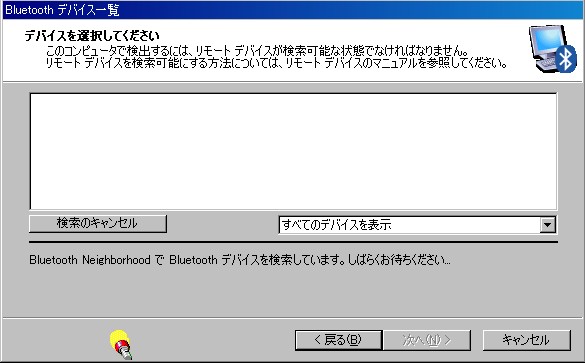
↑こんな感じの画面が表示され、機器の検索が始まるので、Wiiリモコンの1、2キーを同時に押す。すると…
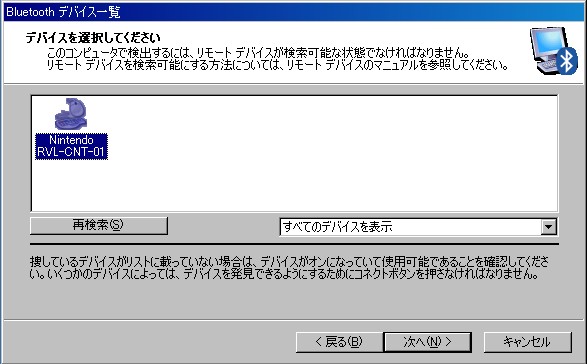
↑Wiiリモコンが検索に引っかかる。Nintendo_RVL_CNT_01をクリックして、次へをクリック。
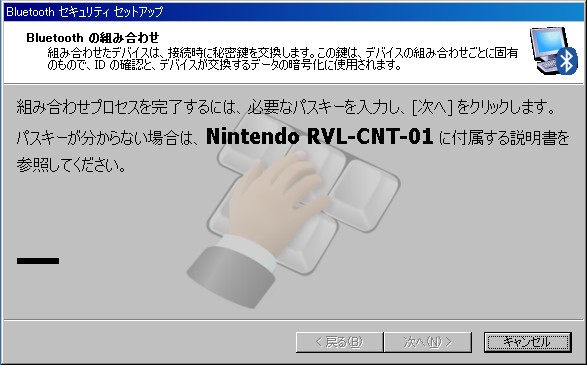
↑パスキーを聞かれる。ここで、Alt + s を押すことで、入力をスキップする。

「興味のあるサービス」である、Wiiリモコン「RVL-CNT-01」を選択し、完了をクリック。
Bluetooth Neighborhood 全体をクリックし…
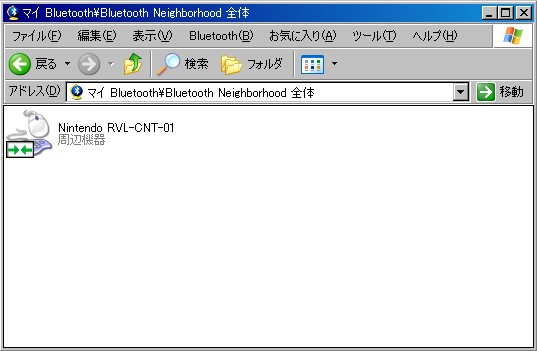
図のようにショートカットに緑色の矢印マークがついていれば成功。
うまくいかないときは、一旦Bluetooth Neighborhood 全体のショートカットを削除したりすると、いいこともある。
BlueSoleilスタックでのWiiリモコンとPCの接続
BluetoothUSBアダプタ等に同梱されている場合が多く、評価版をこちらからダウンロードできたりするBlueSoleilスタックの場合の、PCとWiiリモコンの接続法ムービー。まずはご覧あれ。つまり、
1.Bluetoothアイコンをクリック。スタックを起動する。
2.中央のオレンジの丸をクリック。Bluetooth機器を検索。
3.Wiiリモコンの1+2キー同時押し。
4.Wiiリモコンが見つかるので、ダブルクリック。
5.Wiiリモコンのアイコン「Nintendo-RVL...」を右クリック。
6.接続→ヒューマンインターフェースデバイス
7.音がして、スタックの表示が接続状態になればOK。
